How to film Real Estate – Part 1
Part 1
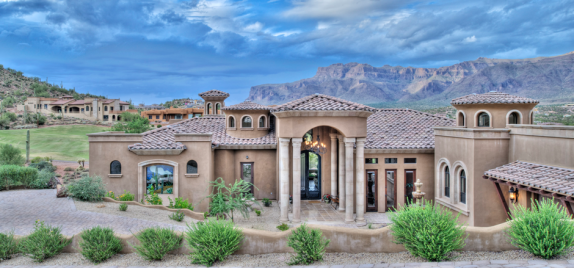
 In today’s real estate market it is no surprise that the majority of potential buyers are turning to the internet to find their next home. With the rising popularity of video sharing websites such as YouTube, guided video tours of homes are becoming more commonplace. It has long been known that quality home photography can have positive effects on selling a home and the same can be said of quality video. In a study conducted by Redfin, homes with quality photography/videography were shown to have a $935 to $116,076 increase in their selling price over homes without. Also, The Wall Street Journal reports that homes worth more than $300K, with professional photography/videography, are more likely to sell. This means that home sellers and agents should absolutely acquire professional photographs and videos of their properties.
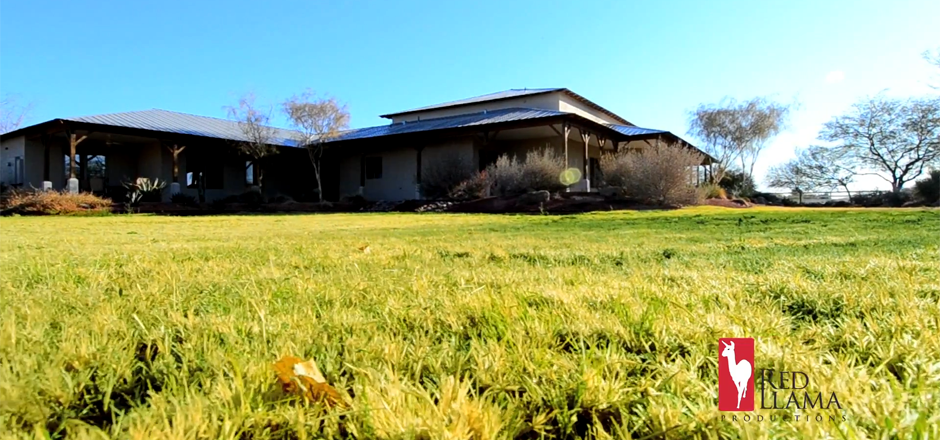
So, how does one create a distinctive video walkthrough of a home? We here at Red Llama Productions pride ourselves on the quality of our work (sample 1, sample 2) and would like to share a few tips to help you create an excellent guided tour of your house.
Here are the tools you will need:
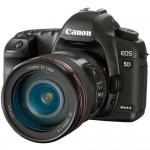 Video Camera – Preferably one that shoots in HD and has interchangeable lenses. Many DSLR cameras are capable of shooting video and offer the aforementioned specifications. A lot of point-and-shoot cameras today can film HD video, but this is not recommended unless you have no other alternatives.
 Wide Angle Lens – A wide lens will make the interior of the home seem larger. 10mm to 14mm is ideal for shooting real estate video. Any wider than this and the distortion can be distracting.
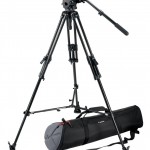 Tripod – This is used for stabilization and allows for smooth camera movement.
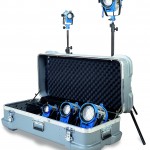 Work Light – This is used to light darker areas.
 Post Production Software – The majority of computer operating systems come standard with basic video editing software. If your computer does not have an editing program, YouTube offers a free editor on their site.
Now that you have acquired all of your equipment, it is time to start filming. You will first equip your camera with the wide angle lens and secure it to your tripod. If your lens has a zoom, you will usually want to be completely zoomed out. Some shots may call for you to zoom in to highlight certain details, but typically being zoomed out is ideal. With your camera and tripod ready to go, you will set up various shots around the house, showcasing all of the selling points of the home.
As you are filming, keep these tips in mind:
- Select a Unique Perspective – When deciding where to place your camera in a room, consider what will be most appealing to the viewer. If you film from the doorway of a room with the camera at your eye level, you are not offering your viewer anything they can’t already see with their own eyes. It is dull and flat, so change it up. Maybe try setting up in a corner of the room with the camera at your waist height. Besides making the room seem larger, this type of shot is generally more engaging.
- Lighting is Key – Lighting a room can be a little tricky. It helps if you are familiar with how your camera operates to alter ISO and aperture. You should refer to the camera’s manual for these functions. Generally, you will want to turn on all of the lights in each room and open all of the windows. However, the light from outside can cause the outdoors to look “blown-out” or overexposed. Try adjusting the blinds or drapes to allow the most light in while minimizing overexposure. If parts of the room are still dark, use your work light to brighten them up. Be careful not to show your work light in your shots.
- Use Movement – One advantage that video has over still photography is the capability to capture movement. A “pan” is a filmmaking term that refers to turning the camera from side to side on a swivel. A “tilt” is similar, but moves up and down instead. You should employ these types of camera movements to keep your video interesting. Also, your tripod will help you keep these motions smooth and steady.
- No, Seriously, Use Movement – You are shooting video. This should go without saying, but use this fact to your full advantage. If there is a fan in the room you are filming, turn it on a low setting. If there is a faucet, run the water. If there is a fireplace in the living room, or a fountain in the yard, turn them on. All of these examples make a home feel alive in a way that you cannot achieve with still photography.
- Vary Your Shots – As you move from room to room within the house, make sure you are varying the footage you are capturing by employing a mixture of pans, tilts, and stationary shots. No one wants to watch an entire video of shots that simply pan from left to right across every room.
- Magic Hour – In filmmaking, the term “Magic Hour” refers to the brief period of time right before sundown typically called dusk. During this time the lighting has a nice golden hue and strikes objects at an appealing angle. When filming the exterior of the house, particularly the front, you should wait until the magic hour. This will make the home feel warm and inviting. If you shoot the outside of the house at noon the lighting will look flat and unappealing.
